Set up a custom S3 bucket
To have Cord upload annotation screenshots to your own S3 bucket, you'll need to provide us with the bucket name and bucket region, as well as an access key ID and secret access key for an IAM User with read + write + list permissions on that bucket. Follow this guide on how to get them.
Create the S3 bucket #
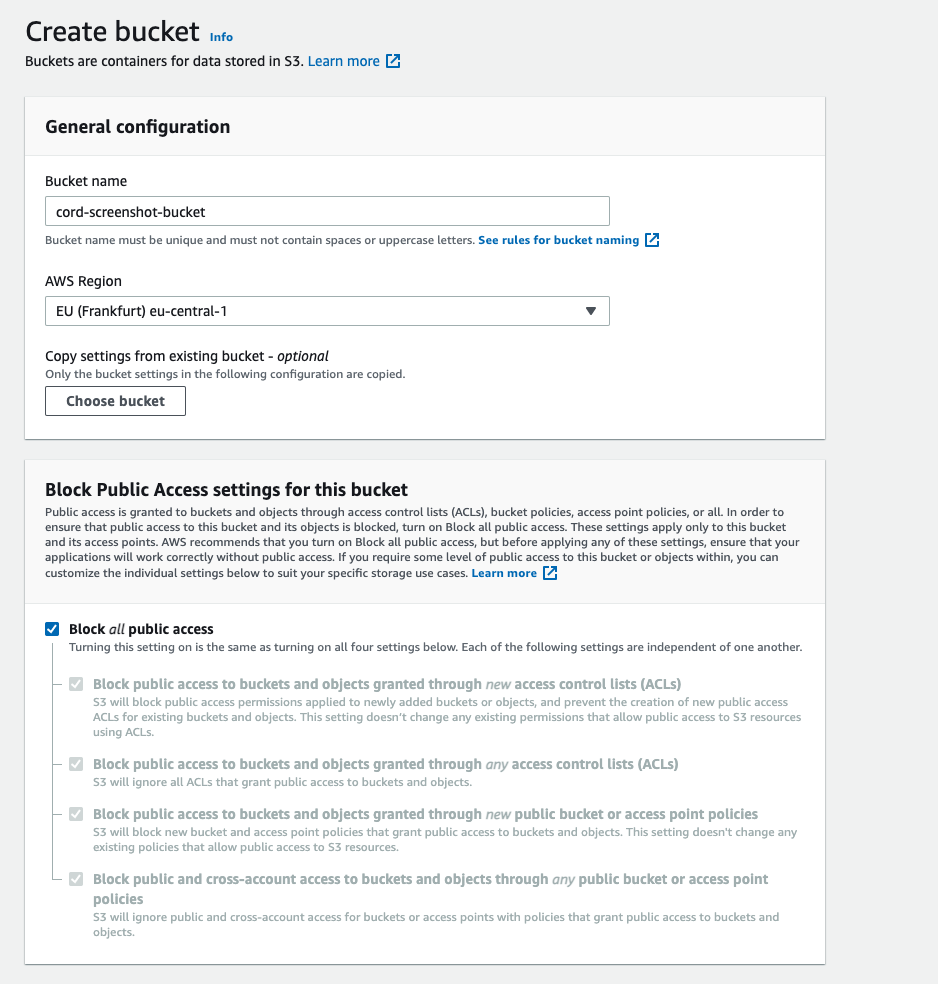
Go to AWS Console - S3 and click the "Create bucket" button.
Choose a name and a region for your bucket. Copy both of these values, as you will need them in future steps, as well as to send them to the Cord team.
Make sure you leave the "Block all public access" ticked. If don't set this, your bucket is less secure.
Enable CORS #
Open the details for the bucket you just created, navigate to the Permissions tab, then scroll down until you see the "Cross-origin resource sharing (CORS)" section.
Click Edit paste this configuration object into the text area, then click Save.
[
  {
    "AllowedHeaders": ["*"],
    "AllowedMethods": ["GET", "POST", "PUT", "DELETE", "HEAD"],
    "AllowedOrigins": ["*"]
  }
]Create a custom IAM policy #
Go to AWS Console - IAM Policies and click the Create Policy button. Under Service choose S3.
Under Actions > Access Level tick the "Read" and "Write" permissions, as well as, in the "List" category, tick the "ListBucket" action.
Next, click on Resources and it will open a list of restriction categories.
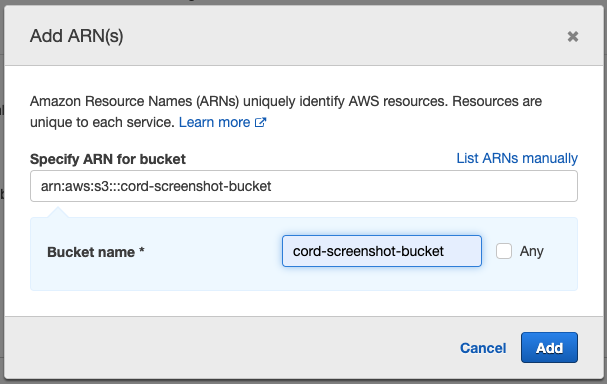
First, limit bucket operations to the bucket, by clicking "Add ARN to restrict access" on the bucket row. In the popup that appears, write the bucket name and click "Add".
Next, limit object operations to the bucket, by clicking "Add ARN to restrict access" on the object row. In the popup that appears, again write the bucket name, then tick the "Any" checkbox next to "Object name", and click "Add".
Finally, give the policy a name like S3ReadAndWriteToCordScreenshotsBucketOnly and save it.
Create an IAM user #
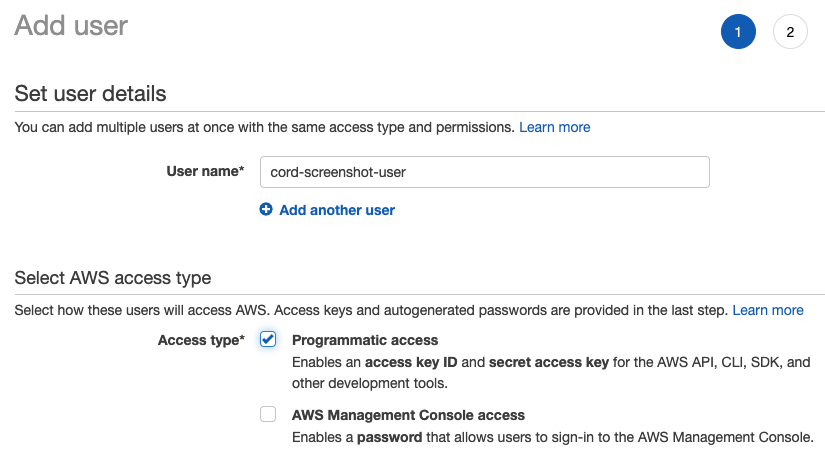
On the next page go to "Attach existing policies directly", search and select the newly created policy from step 2. Finish creating the user, leaving the defaults for the rest of the steps.
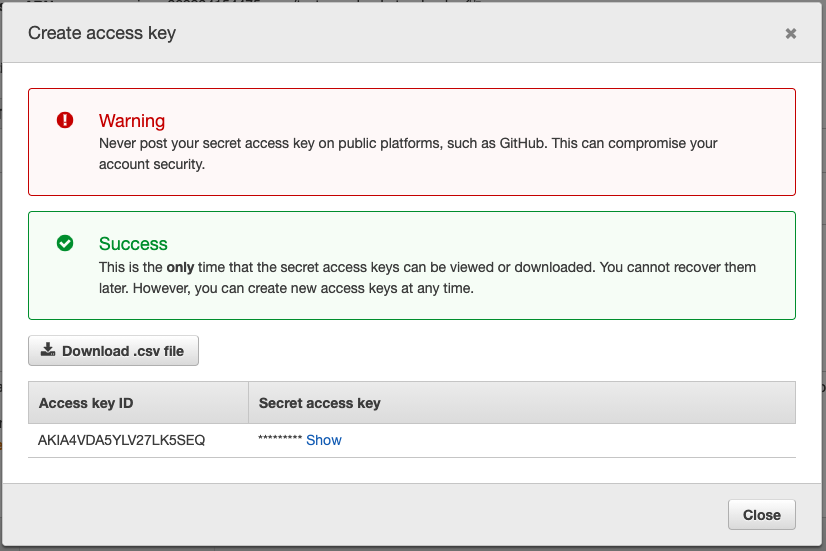
Select the user from the user list. Click the "Security credentials" tab. Here you can manage access keys for the user. You will need two pieces of information from here:
- the Access Key ID
- the Secret Access Key
(If you're doing this to rotate secrets, you will already see the old Access Key ID in the list).
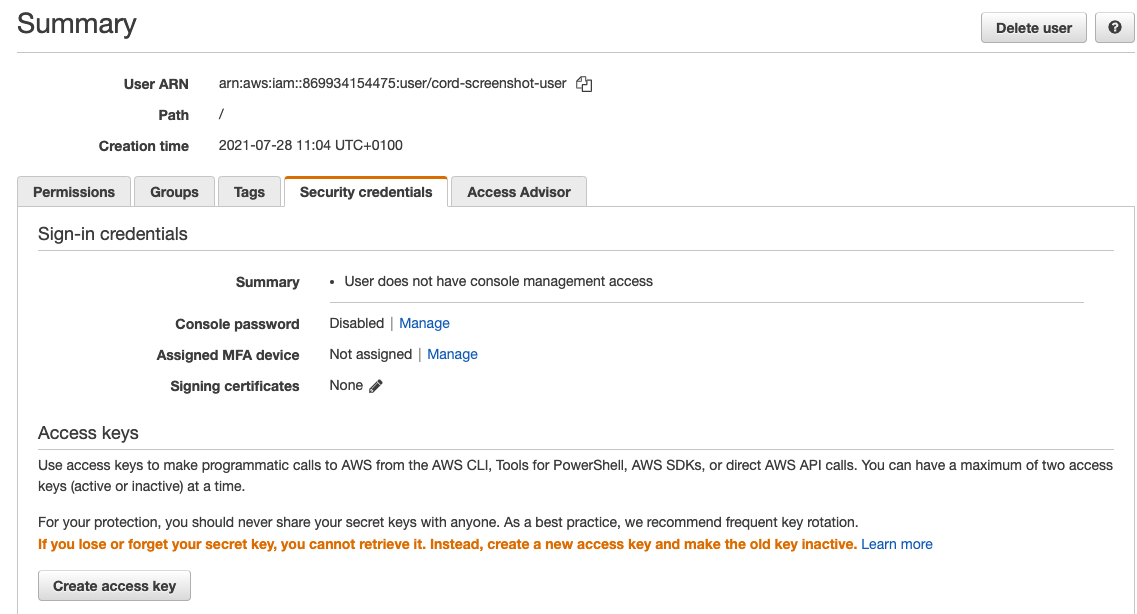
Click on "Create access key". This will open a popup with the access key ID and secret.
Copy both of these values, as you will need to send them to the Cord team.
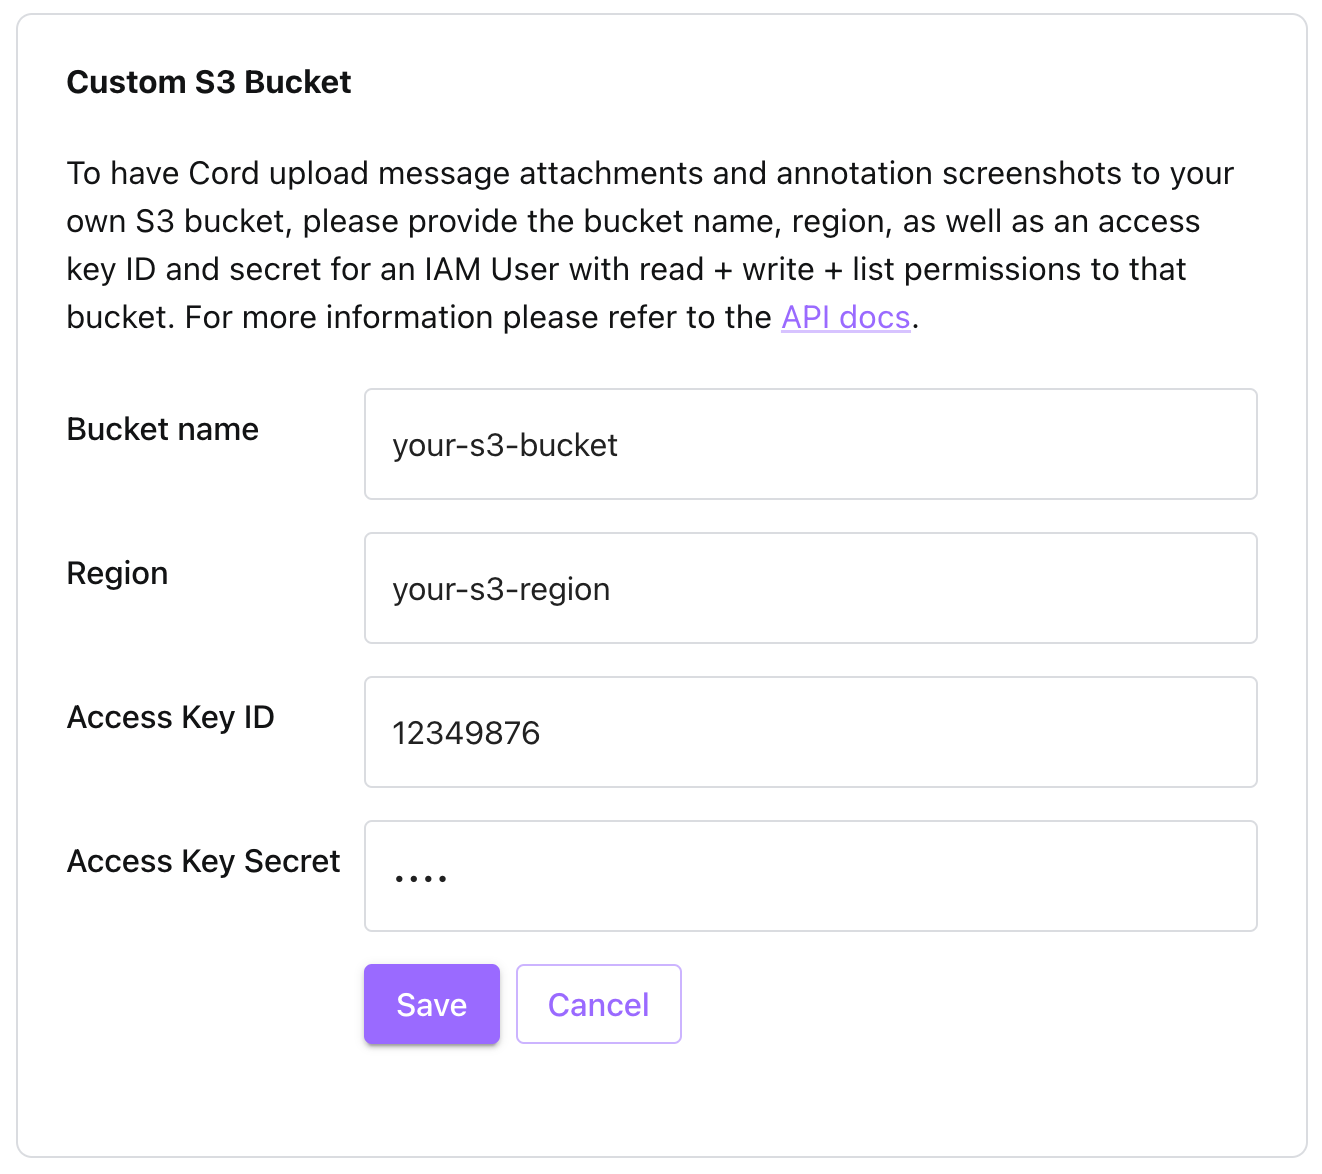
Enter details in your project console #
Now that you have the bucket name, bucket region, access key ID, and secret access key -- hang onto them.
Go to the Cord console, select your project and go to the Advanced tab in the settings. Click on "Set Up Custom S3 Bucket" and add your details.
If you cannot see the "Set Up Custom S3 Bucket" button, please send an email or Slack message to your contact at cord so that they can activate this feature for you.
Please do not send these values over email or Slack. Your contact at Cord will help you transfer them securely.
Ready! #
Now Cord will upload the screenshots to the S3 bucket you provided.
Not finding the answer you need? Ask our Developer Community